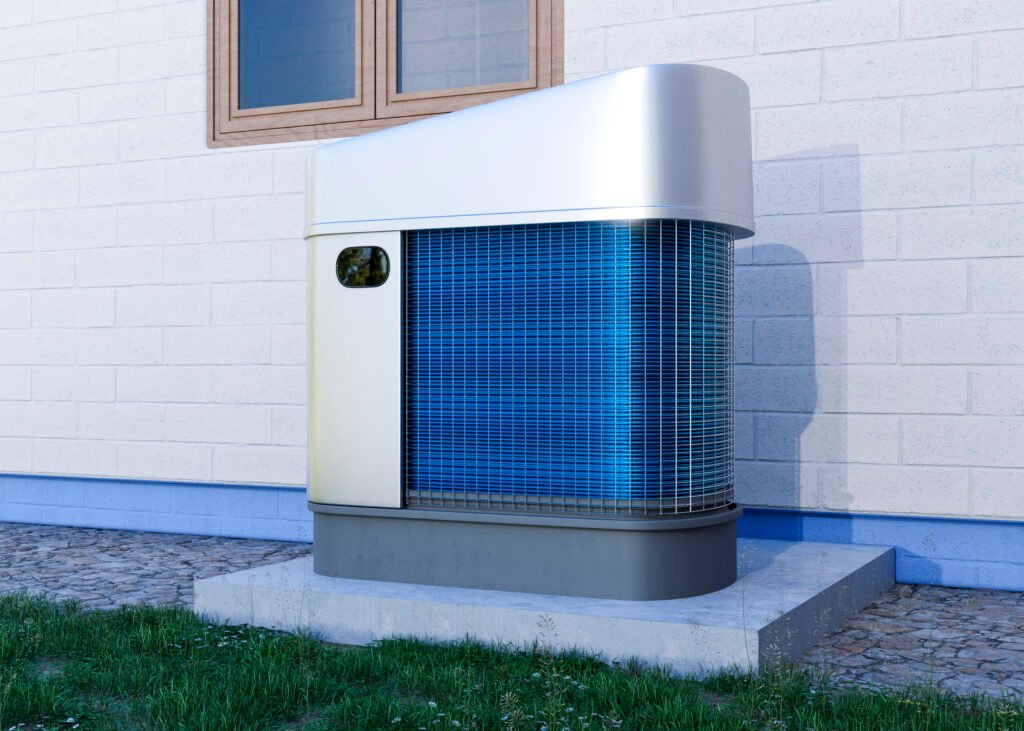
Installing an air conditioner in your home not only enhances your comfort during hot days but also increases the value of your property. However, this process requires careful planning to ensure not only efficient installation but also compliance with local and community regulations. In this guide, I’ll walk you through the steps to install air conditioner, from choosing the type of system to obtaining the necessary permits and handling fluorinated gases.
Types of Air Conditioning Systems
When starting the installation process, it’s crucial to select the type of system that best suits your needs and the characteristics of your home. Here are the most common options:
- Window Units: Ideal for individual rooms. Their installation is simple, but they can block light and take up window space.
- Split Systems: Composed of an outdoor unit and one or more indoor units. They are efficient and discreet, but require a more complex installation.
- Central HVAC: This system is suitable for cooling the entire house. Although the installation is costly, it offers complete climate control throughout the home.
Necessary Regulations and Permits
Installing an air conditioner involves more than just connecting equipment; it also requires compliance with certain regulations that vary depending on location and system configuration.
Homeowners Association Permits
If you live in a building or a community of neighbors, you may need permission from the homeowners association to install an air conditioner, especially if the external unit affects the facade. It’s advisable to submit a formal request to the community manager, detailing the equipment’s location and how you plan to minimize visual and noise impact. In some cases, you may face objections, so be prepared to negotiate or modify your plans.
Municipal Regulations
Municipalities often have specific regulations for air conditioner installations, particularly regarding the placement of the external unit, allowed noise levels, and the system’s energy efficiency. It’s essential to consult with the local municipality before starting the installation to avoid fines or the need for costly modifications afterward.
Handling Fluorinated Gases
Air conditioners contain fluorinated gases that are harmful to the environment if not handled properly. European regulations, for instance, require that only certified technicians handle these gases. Ensure that the installer you hire has the proper certification to handle and recharge these gases, thus guaranteeing a safe and legally compliant installation.
Installation Process: Step by Step
With all the permits in order and the system selected, it’s time to proceed with the installation.
1. Pre-installation Preparation and Site Selection
Choose a location that allows efficient airflow for both the indoor and outdoor units. Avoid areas where the outdoor unit may be exposed to direct sunlight or where noise might disturb the neighbors.
2. Necessary Tools and Safety Measures
For a successful installation, you’ll need basic tools like a drill, level, wrenches, and a hole saw for the connections. Don’t forget to wear protective gear like gloves and safety glasses.
3. Installation and Electrical Connections
First, mount the indoor unit in the chosen location. Ensure it is level to avoid drainage issues. Then, connect the refrigerant lines and make the electrical connections following the manufacturer’s instructions. The outdoor unit should be placed on a stable base and connected to the indoor unit.
4. Final Tests and Adjustments
Once the units are installed, perform a system test to verify everything is working correctly. Check for possible refrigerant leaks and ensure air is flowing properly in all desired areas.
Benefits of Hiring Certified Professionals
While you can do the installation yourself, hiring a certified professional has several advantages:
- Regulatory compliance: A professional will ensure the installation meets all local regulations and the guidelines of the homeowners association.
- Risk reduction: An experienced installer will minimize the risk of errors that could damage the equipment or property.
- Maintenance and post-installation service: Many installers offer warranties and maintenance services that can extend the system’s lifespan.
Costs Associated with Installation
The cost of installing an air conditioner varies depending on the type of system and the complexity of the installation. Here’s a general breakdown:
- Window Units: Between $150 and $500, depending on size and brand.
- Split Systems: Between $1,500 and $5,000, depending on the number of indoor units and the distance between the indoor and outdoor units.
- Central HVAC: Between $3,000 and $7,000, depending on the size of the house and the complexity of the system.
Factors such as the need for additional electrical work or difficult access to the installation site can increase these costs.
Tips for Efficient Maintenance
To ensure your air conditioning system works efficiently and has a long lifespan, it’s crucial to follow a regular maintenance plan:
- Filter cleaning: Clean or replace air filters every 2-3 months to ensure proper airflow and reduce energy consumption.
- Outdoor unit inspection: Keep the outdoor unit free from obstructions like leaves or debris that can block airflow.
- Annual professional inspection: Hire a professional to conduct an annual system check, including checking refrigerant levels and cleaning internal and external coils.
Conclusion
Installing an air conditioner is a task that goes beyond simply plugging in a device. It’s essential to comply with local regulations, obtain the necessary permits, and ensure the installation is done safely and efficiently. By following the steps outlined in this guide, you can ensure your system works perfectly, keeping your home comfortable and your mind at ease.

